Setting up a resident account on Vulcan Access platform
Vulcan Access is an integrated Visitor/Resident Access Management Solution that is live and working in two residential community already and all the indications that it will adopted soon by other communities as well. We have received several inquiries for a step-by-step guide detailing how a Vulcan Access account is set and then activated.
The starting point
From the resident’s point of view, the whole process starts with the manager’s announcement that the Vulcan access management Solution is set up and an invitation for you to activate your account and download the customized app for your gated community. The invitation should contain a link towards a dedicated and secure webpage.
To summarize, the process involves:
- Creating an account on your community’s web page
- Downloading the app
- Activating the account
- Logging into the app to start issuing invitations.
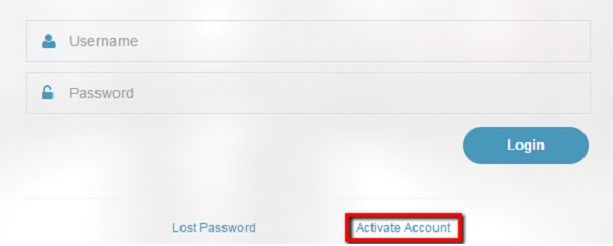
Login dialog on Vulcan Access management webpage
Each community or company that uses our Access Management System has a separate account, separate page and separate database. Your own community webpage will display the dialog you can see in the image above.
For your first-time visit please press the “Activate Account” button at the bottom of the page.
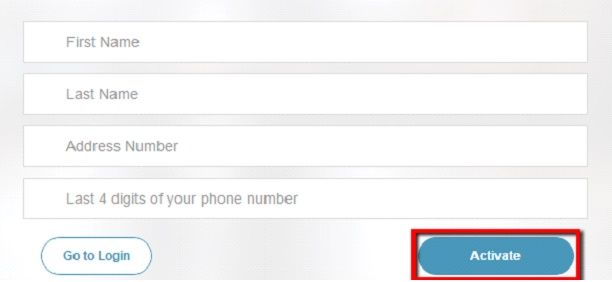
Activate Account Form
You will see a form you will need to fill in:
- First Name
- Last Name
- Address Number (note: do not write the street name)
- Last 4 digits of your phone number
Now, press “Activate”.
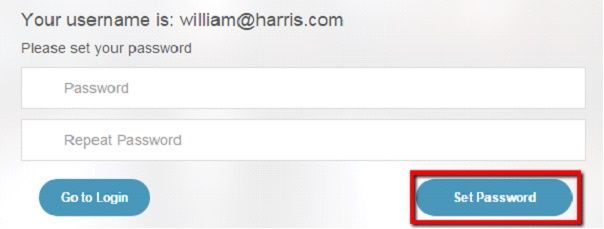
Setting your password
You will be assigned a user name (your email) and you will be asked to set your password. For instance, in the image above you can see a fictional William Harris ready to set up his password.
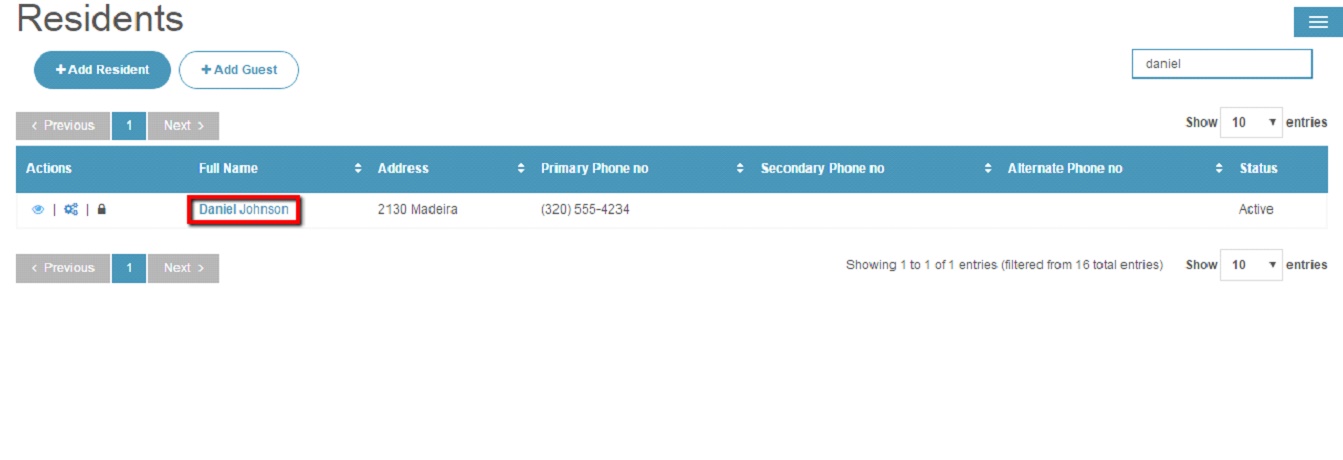
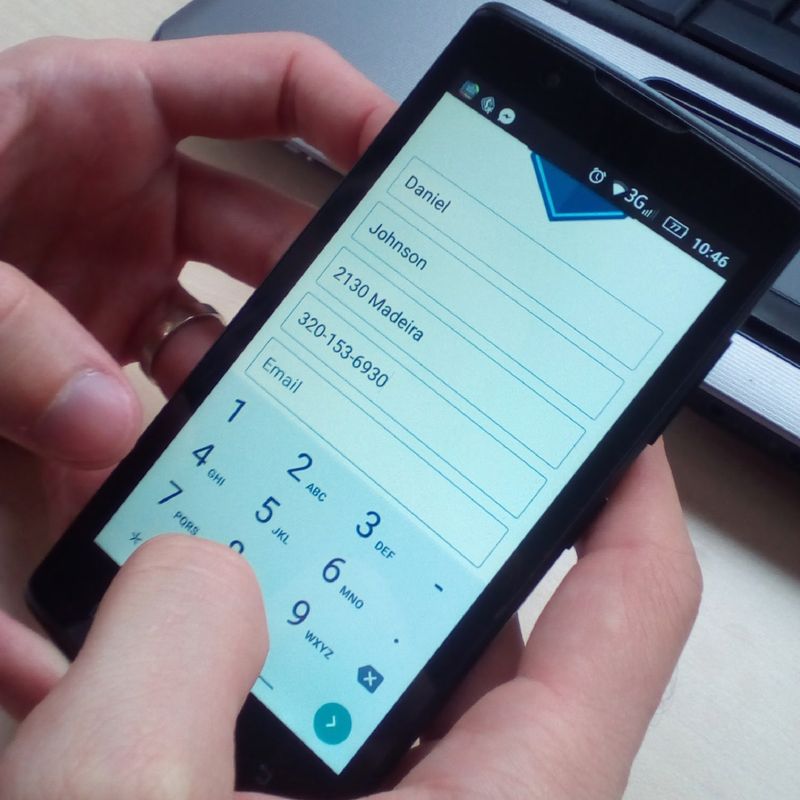
The resident’s personal web page after registration
You will be taken to your Residents page. For instance, in the image above you can the resident page of a fictional Daniel Johnson.
Note: the first resident to register from a given address is set by default as a “Master Account”.
Once you are on your own Resident page, please click on your name to view more details.
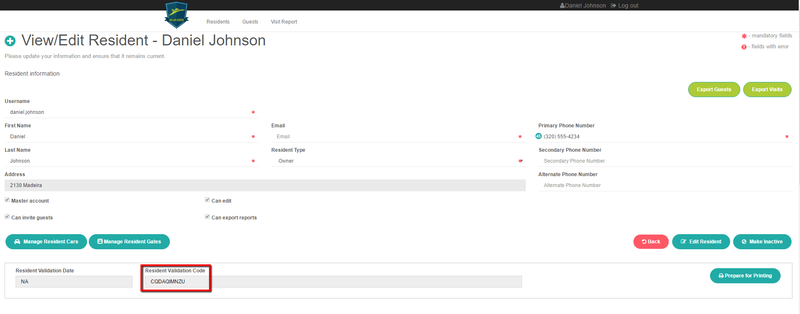
View / Edit Resident: the place where a registered resident can review the created account
On the View / Edit Resident page you will find your Resident Validation Code. This is the code that will allow you to start using your app. Copy it.
The other thing you should do is to register your car(s). This will allow you fast and easy access through the gate.

Manage Resident Cars: the place where a registered resident can review, add or edit information about his/her cars
Now, as a registered resident, you can add guests. Guests can be added from the web interface, as well as from the app. Here is how a registered user can add new guests and specify their access rights from the San Messina web interface:
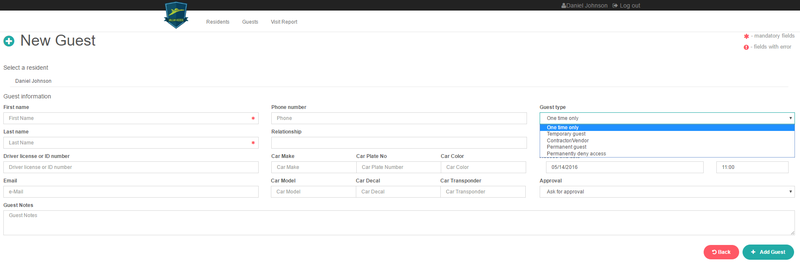
Adding new guests from the San Messina web interface
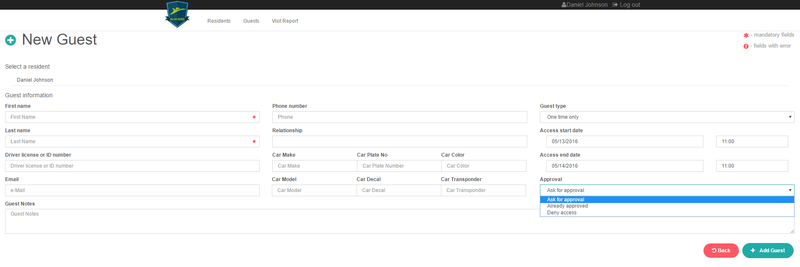
Adding new guests from the San Messina web interface
Locate and download your community access app from Google Play for Android phones or from App Store for iOS phones. Below you can see screenshots of Palm Island Access in Google Play (left) or App Store (right).
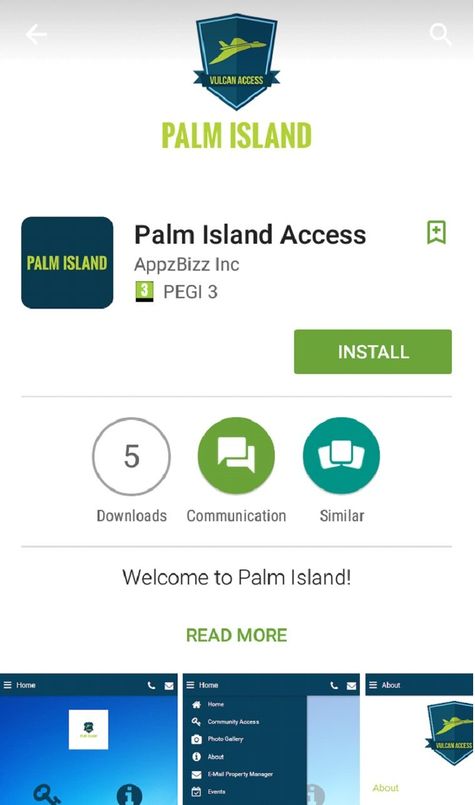
Palm Island Access - an example of a community access app on Google Play
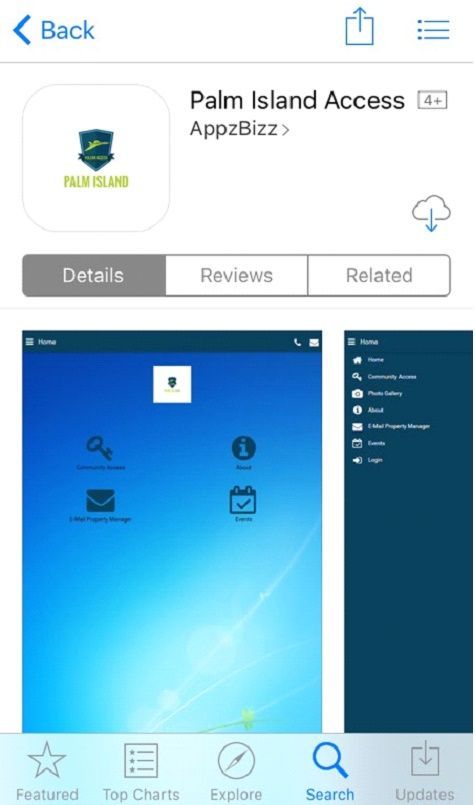
Palm Island Access - an example of a community access app on App Store
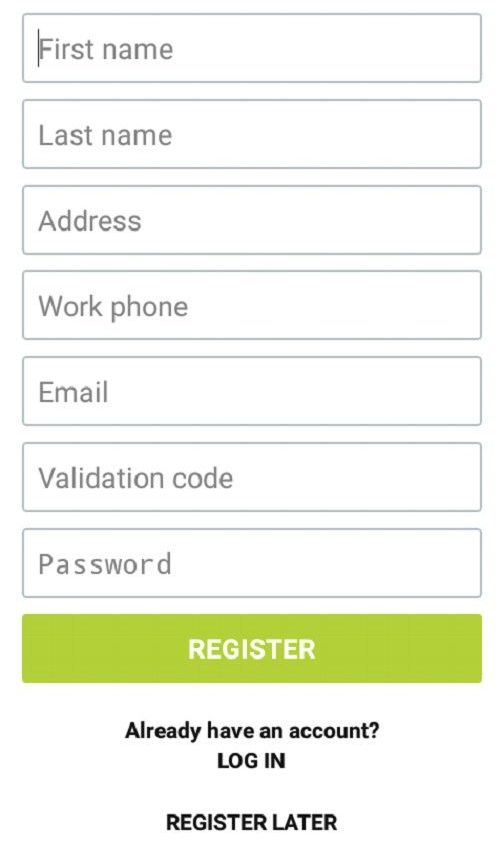
Registration screen on your community access app
Open the app on your phone. Tap on the “Register” button.
The app will ask you to fill in your personal details, so that it can link your app to your account in the community database (image on the left).
- First name
- Last name
- Address
- Work Phone
- Validation code (see step 1)
- Password (please choose the password you want to use)
Press the “Register” button at the bottom of the screen. The registration process is completed.
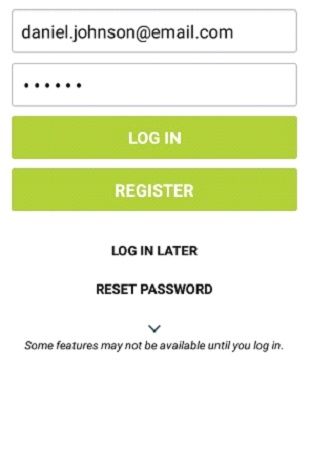
Login screen on your community access app
Once your community access app is opened, you will be automatically redirected to a login screen.
Login by inserting your email and the password (see step 3, above). For instance, on the image on the left you can see how our fictional Daniel Johnson is logging in.
Press “Log in”.
You can now use the app.
Start using the app: invite guests and provide access to contractors
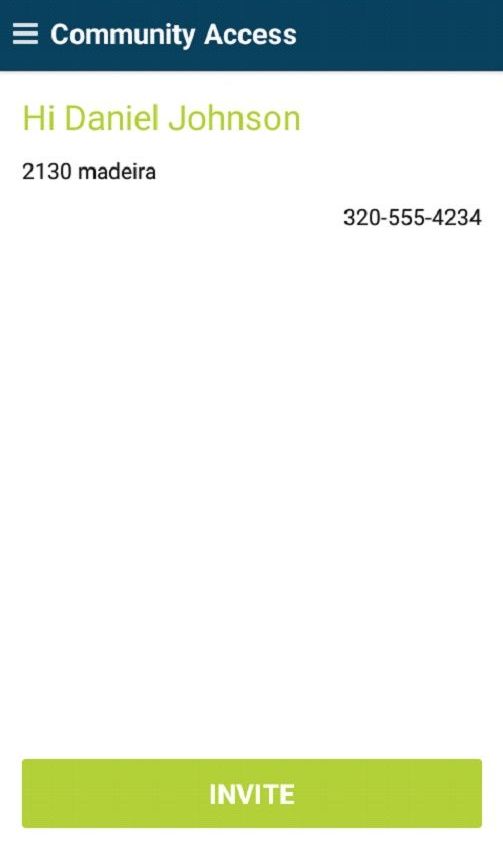
Welcome screen on your community access app

Invite screen on your community access app
Once you are successfully logged in, you will see a screen similar to the one depicted in the image on the left. In our example, Daniel Johnson is ready to use his app to invite guests or contractors. Also, notice that each visitor is able to see a list of his Latest Guests and choose to re-invite them (image on the right).
To invite people to your address, tap on the “Invite” button at the bottom of the screen.
Your community access app allows you distinguish between:
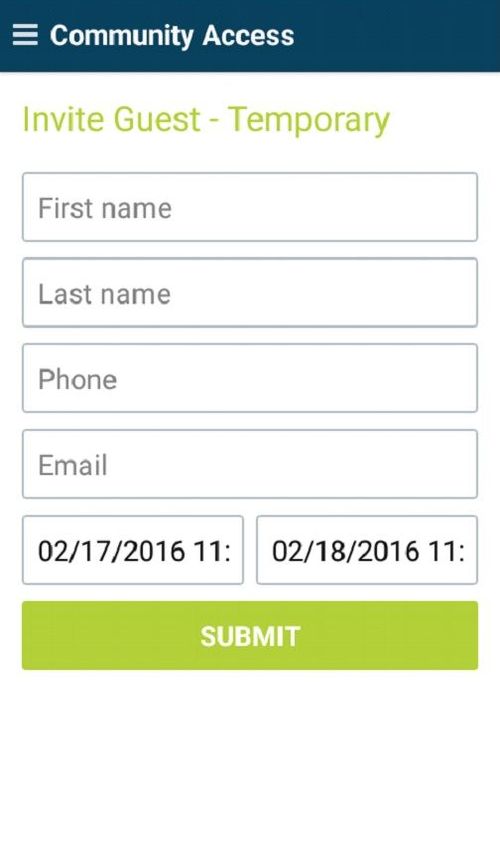
- Temporary guest - a guest that is issued an invitation valid for 24h (by default)
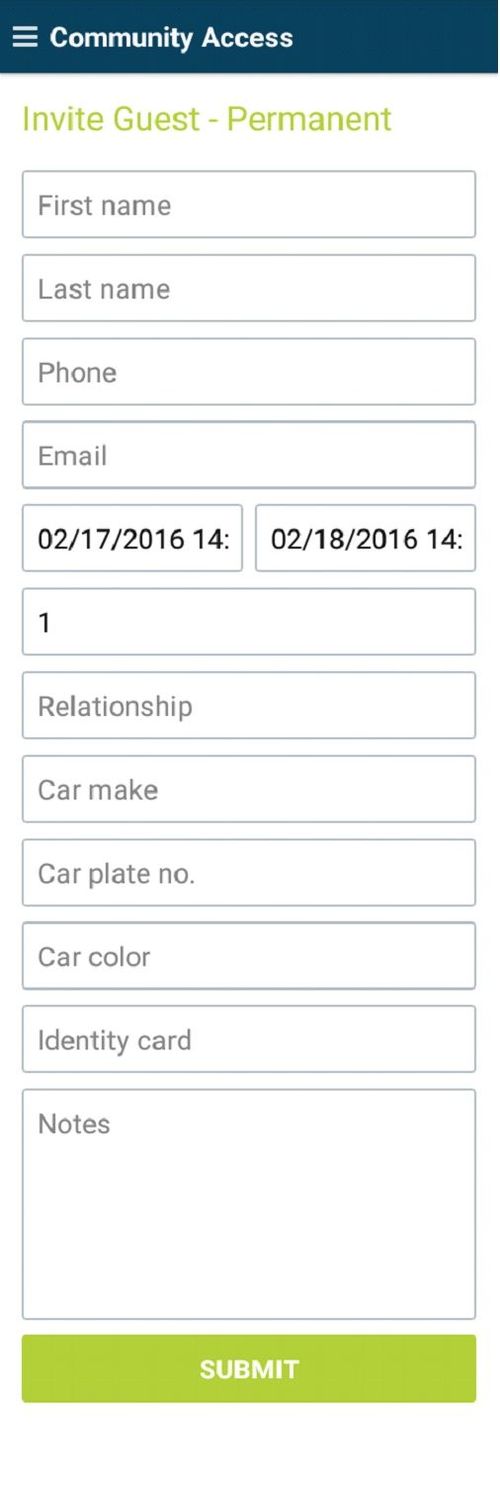
- Permanent guest - a guest that is issued an invitation that is valid for longer periods or has no expiry date. You can also specify the number of times entries you allow this person.
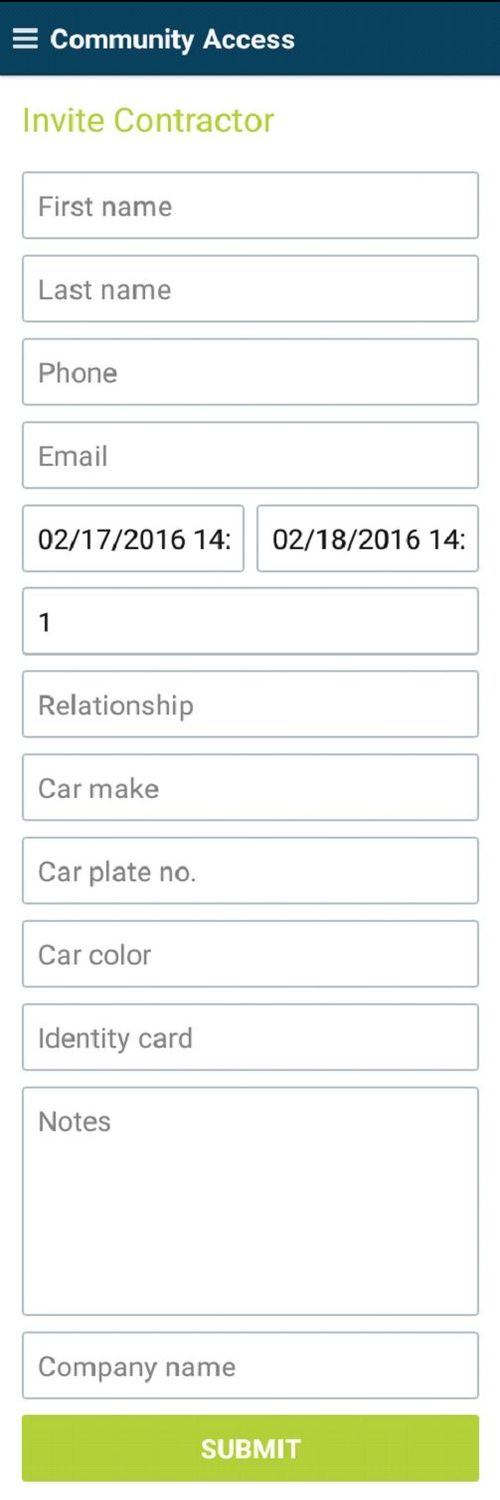
- Contractors - a temporarily valid invitation that allows a contractor access to your premises.
Choose the level of access you want to grant your visitor by selecting the appropriate category.
Below you can see the app screens for each of these categories, detailing what you need to fill in for a given type of invitation.
Permanent Guest Invitation screen on your community access app
Contractor Invitation screen on your community access app
Temporary Guest Invitation screen on your community access app
Once you fill in all the details and submit the invitation, your guest will see an invitation that has a uniquely generated QR code. Presenting this invitation at the gate will allow the guard to scan it and allow him or her entry within seconds.
Below you can see an example of such an invitation issued by a fictional Jerry Lee.
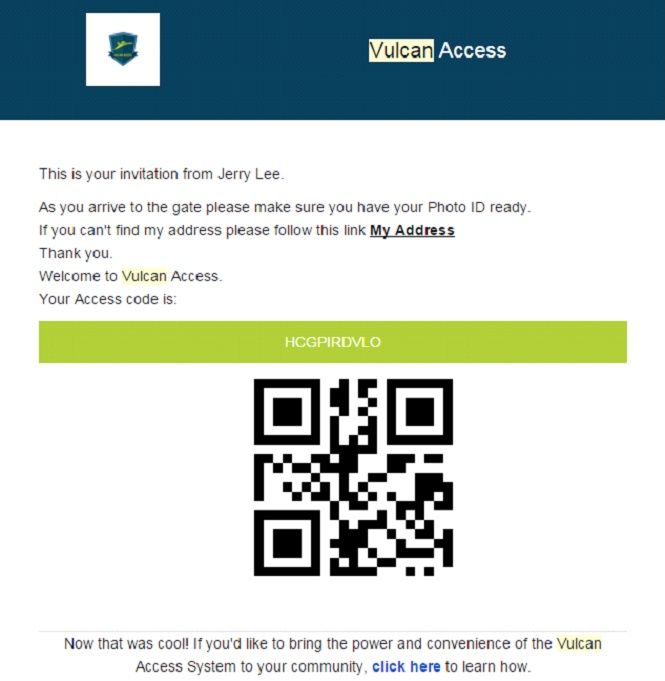
An example of an invitation with a QR code
Conclusion
We have tested the registration process and users have no difficulties completing the whole process of creating an account, downloading the app, activating the account and finally logging into the app to start issuing invitations. The whole process takes between 10 to 15 minutes.
Note that this is a one time process. After the registration you are only required to log in - a process that takes seconds.


Posting comment as guest.
If you already have an account, please LOGIN.
If not, you may consider creating on. It’s FREE!